
I’ll never forget the summer I spent battling weeds with nothing but a flimsy hand trowel. My back ached, my knees were bruised, and I was losing the war against crabgrass. Then my neighbor handed me her old Warren hoe and showed me a few basic techniques. Everything changed. What took me hours suddenly took minutes, and my garden beds stayed clean all season.
If you’ve been searching for information about gardening hoes, you’re in the right place. Maybe you’re standing in a garden center wondering which of the dozen hoe types actually matters for your vegetable patch. Or perhaps you inherited an old hoe and aren’t sure if you’re even using it correctly. You might be comparing prices online, trying to figure out if that 2026 model with the fancy ergonomic handle is worth the extra investment.
The truth is, a good hoe is one of those tools that separates frustrated gardeners from efficient ones. But choosing the right type requires understanding what you’re up against. Do you need to slice through shallow weeds between rows? Break up compacted soil? Create furrows for planting? Each job calls for a different blade shape and handle length.
In this guide, we’ll walk through the main types of gardening hoes you’ll encounter in 2026, from classic stirrup hoes to specialized collinear designs. We’ll cover what to look for when buying, realistic pricing across different quality levels, proper techniques that save your back, and where the gardening community is shopping this year. By the end, you’ll know exactly which hoe belongs in your shed and how to use it like someone who’s been gardening for decades.
Let’s get you equipped with the right tool for your soil and style.
What Makes a Gardening Hoe Different From Other Garden Tools
When I first built my raised beds, I grabbed whatever tools were in the shed: a spade for digging, a rake for leveling, even a hand cultivator. But no matter how hard I worked, weeding between rows took hours, and creating neat furrows felt like pure guesswork. That changed the day I learned what a gardening hoe actually does.
A gardening hoe stands apart because of its blade-and-handle geometry. Unlike a spade that you push vertically into soil, a hoe features a flat or angled blade attached perpendicular to a long handle. This design lets you work while standing mostly upright, using a chopping, pulling, or pushing motion that cuts through soil horizontally rather than digging down into it. That simple difference transforms tasks like slicing weeds at the root level or shaping planting rows.
Rakes level and gather, pulling debris across the surface. Cultivators aerate and break up compacted soil with their pronged fingers. But neither can cleanly sever a dandelion taproot two inches below ground or carve a straight furrow for peas in one smooth stroke. The hoe’s blade angle and sharp edge give it surgical precision for surface-level work that other tools simply can’t match.
I’ve tried using a spade edge to chop weeds. It’s exhausting and tears up more soil than necessary. The hoe glides through the same task in half the time because it’s purpose-built for that exact motion. Once you understand this fundamental difference, you stop trying to make other tools do a hoe’s job, and your garden work becomes remarkably more efficient.
Types of Gardening Hoes (And Which One You Actually Need)
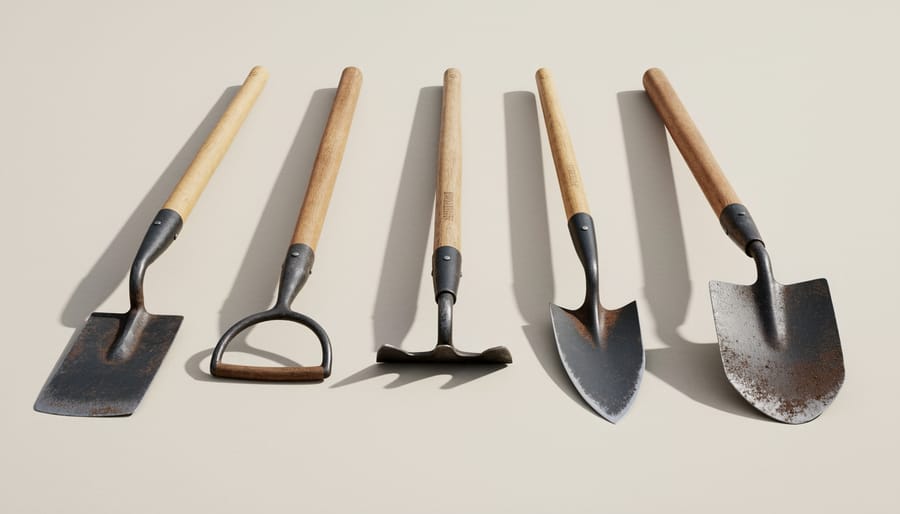
The Classic Draw Hoe
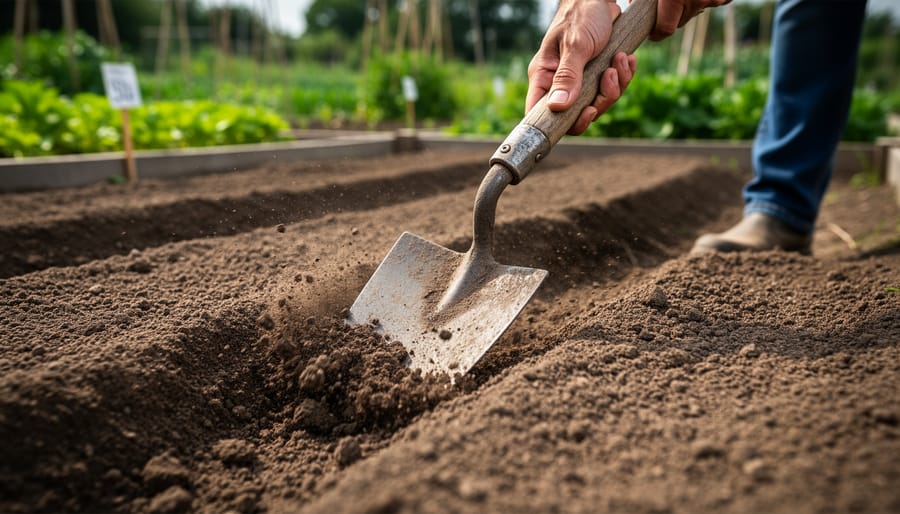
The classic draw hoe is what most people picture when they think of a gardening hoe: a flat, rectangular blade attached at a right angle to a long handle. You pull it toward you through the soil, which is why it earns the “draw” name. This design excels at chopping through compacted earth, breaking up clay-heavy soil, and cutting clean furrows for planting rows. I use mine every spring to prep my vegetable beds, dragging it through winter-hardened ground that would exhaust me with a spade alone.
Beginners gravitate to the draw hoe because it’s intuitive and versatile, handling everything from rough soil prep to mounding earth around potato plants. The straightforward chopping motion requires minimal technique, though you’ll quickly learn to let the blade’s weight do the work rather than muscling it through every stroke.
Stirrup and Scuffle Hoes
I’ll admit I was skeptical the first time someone handed me a stirrup hoe in my community garden plot. The double-sided blade looked flimsy compared to my sturdy draw hoe. Then I made one pass down a weedy row and became a convert.
Stirrup hoes (also called scuffle or loop hoes) have a thin, flat blade shaped like an upside-down U that cuts just below the soil surface. You work them with a simple push-pull motion, slicing through weed stems on both strokes. That back-and-forth action means you’re constantly working, unlike a draw hoe where only the pull stroke cuts.
For weeding between vegetable rows, nothing beats them. I can clear my entire bean patch in fifteen minutes, a job that used to take an hour with my old hoe. The blade skims along just beneath the surface, severing weeds at the root without disturbing nearby plants or bringing up fresh weed seeds from deeper soil. On summer mornings when weeds are small, I practically glide through my beds.
The downside? They’re terrible for heavy soil breaking or furrow making. The thin blade would bend or snap. But for maintenance weeding in established beds, I reach for my stirrup hoe first every single time.
Warren and Specialty Hoes
Warren hoes feature a pointed, triangular blade that slips easily between plants without disturbing roots. I reach for mine constantly in crowded vegetable beds where a standard hoe would knock over seedlings. The narrow point digs precise furrows for seeds and shapes edges around stepping stones.
Korean hand hoes (ho-mi) became my favorite after a friend brought one back from a gardening trip. The short handle and curved blade work like an extension of your hand for close-up work. You control everything from one kneeling position instead of standing and bending repeatedly.
Circle hoes cut weeds with a rotating motion, while collinear hoes keep the blade parallel to the soil surface for the shallowest possible cut. Each specialty design solves a specific frustration. Start with a basic hoe, then add specialized types as you identify which tasks slow you down most in your own beds.
Budget vs. Premium: What You’re Really Paying For
I bought my first hoe at a discount store for under fifteen dollars and it bent the first time I hit compacted clay. That taught me price differences aren’t arbitrary.
Budget hoes in the $13.99 range typically feature welded heads that can separate from handles, lighter-gauge steel that flexes or chips, and shorter handles. They’ll handle light weeding in soft soil but struggle with tougher tasks. I’ve seen these last one season with regular use.
| Price Range | Typical Features | Expected Lifespan |
|---|---|---|
| $13.99-$25 | Welded head, basic steel, shorter handle | 1-2 seasons |
| $35-$60 | Forged head, heat-treated blade, quality wood | 5-10 years |
| $80-$133+ | Hand-forged, superior steel, replaceable handle | 20+ years (often lifetime) |
Mid-range hoes offer the sweet spot for most gardeners. You get forged heads that won’t separate, blades that hold an edge, and ergonomic handles. Premium handcrafted options around $133 feature blacksmith-quality steel that can be resharpened indefinitely and handles you can replace rather than discarding the entire tool.
If you garden casually in raised beds, a $25 hoe works fine. But for serious vegetable gardening or challenging soil, spending $40-$60 means you’re buying once instead of replacing annually.
How to Choose Your First (or Next) Gardening Hoe
Choosing the right gardening hoe might feel overwhelming when you realize there are over 1,000 options available at major retailers, but the decision gets much simpler when you focus on your actual garden and how you work in it.
Start with your garden’s size and layout. A small raised bed or container garden needs a different hoe than a half-acre vegetable plot. I learned this the hard way when I tried using my long-handled draw hoe in my 4×8 raised beds, the handle was so long I kept hitting the bed frames and struggling to maneuver. For compact spaces, a short-handled hoe or Korean hand hoe gives you control. For larger gardens where you’ll cover significant ground, a full-length handle (around 54-60 inches) lets you work standing upright and maintain a comfortable rhythm across rows.
Your soil type matters more than most gardeners realize. Heavy clay soil demands a sturdy, thick-bladed hoe that won’t bend or flex when you’re breaking up compacted ground. I’ve seen budget hoes (the $13.99 ones you’ll find at discount retailers) literally bend during their first season in dense clay. Sandy or loamy soil is more forgiving and works fine with lighter blades. Rocky soil calls for a reinforced connection between blade and handle, the socket or tang joint takes tremendous stress when you hit stones.
Think about your primary task. If weeding dominates your gardening time, a stirrup hoe should top your list. For creating planting furrows and shaping beds, a traditional draw hoe makes sense as your foundation tool. Many experienced gardeners, myself included, eventually own two or three specialized hoes for different jobs.
Handle length directly affects your comfort and endurance. Measure from the ground to your collarbone, that’s roughly your ideal handle length for working without bending. Blade weight should feel balanced in your hands, not head-heavy. Pick up the hoe and swing it gently; if the blade pulls your arms down or feels awkward, try a lighter design. Your body will tell you what works during a five-minute test in the store aisle.
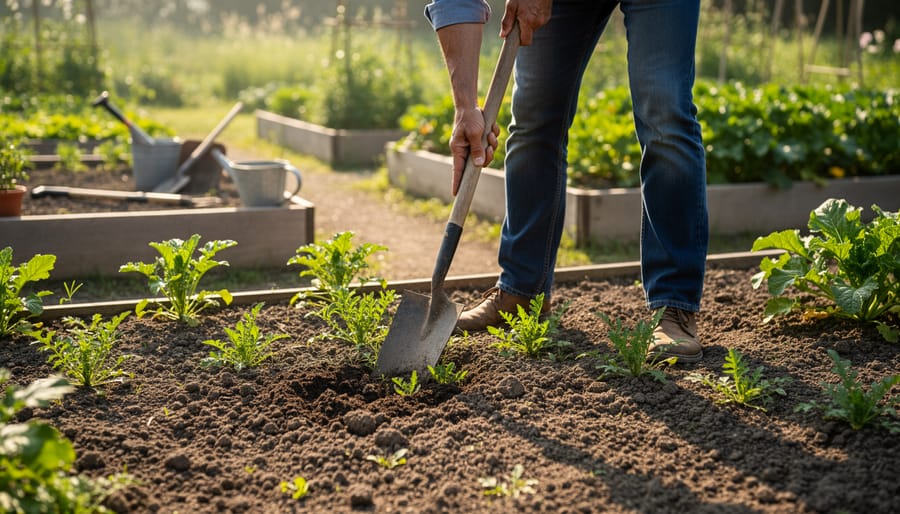
Mastering the Gardening Hoe: Techniques That Save Your Back
The Right Stance and Grip
I learned this the hard way after a morning of chopping weeds left my lower back screaming. Your hands should grip the handle with about shoulder-width spacing, your dominant hand near the end for leverage and your other hand roughly midway down the shaft. Stand at a slight angle to your work area rather than facing it straight on, keeping your feet planted and knees slightly bent. The power comes from your shoulders and core, not your back. Think of it like sweeping: you’re rotating from your center, letting the hoe blade skim just beneath the soil surface rather than hacking downward. When I finally shifted from that hunched, back-breaking chop to this more upright swivel motion, I could work twice as long without soreness.
Weeding Without the Workout
The secret to effortless weeding is timing and angle. I tackle weeds when they’re seedlings, ideally after a light rain when the soil is slightly moist but not muddy. At this stage, a stirrup hoe slices through them in seconds.
Hold your hoe at a shallow angle, nearly parallel to the soil surface, about 10 to 15 degrees. Push or pull in smooth, gliding motions just beneath the surface, severing weeds at the root crown without digging deep. Think of it as skimming, not chopping.
Work backward so you’re not stepping on freshly cleared soil. Keep your movements rhythmic and let the tool do the work. Sharp blades are critical here; a dull hoe forces you to press harder and ruins the whole point.
I spend maybe ten minutes a week this way, and my vegetable beds stay nearly weed-free all season. Once you find this rhythm, weeding stops feeling like punishment and becomes almost meditative.
Creating Perfect Furrows and Beds
I spent years muddling through uneven rows before someone showed me the trick: a draw hoe isn’t just for chopping. To create clean furrows, stand at the row’s end and drag the blade toward you in steady pulls, letting the corner of the blade carve a consistent depth. I keep my grip loose and let gravity do most of the work, checking depth every few feet by laying my hand in the furrow, it should match the planting depth for whatever seed I’m sowing.
For shaping raised beds, I work the hoe around the perimeter first, pulling soil inward from the paths to build height. Then I flatten the top by flipping the hoe and using the back of the blade like a scraper. This technique integrates perfectly with your overall garden layout especially if you’re establishing permanent beds. The key is working when the soil is slightly moist but not soggy. Too dry and you’re fighting clods; too wet and you’re making cement. I learned that lesson the hard way one spring.
Caring for Your Gardening Hoe (So It Lasts Decades)
I learned the hard way that even the best hoe won’t last if you treat it like an indestructible tank. After leaving my favorite stirrup hoe outside through a week of spring rain, I discovered a bloom of rust that took an hour of scrubbing to remove. That mistake taught me that a few minutes of care after each session keeps a hoe working beautifully for decades.
The most important habit is cleaning your hoe immediately after use. Soil left on the blade holds moisture against the metal, inviting rust. I keep a stiff brush and bucket of water near my tool shed so I can scrub off dirt while it’s still fresh. For stubborn clay, a quick spray with the garden hose does the trick. Dry the blade completely with an old towel before putting it away.
Sharpening makes all the difference between struggling through weeds and slicing them effortlessly. A dull blade forces you to work harder and actually damages plant roots more than a sharp edge does. Here’s how I sharpen my hoes twice each season:
- Secure the hoe in a vise or hold it steady against a workbench with the blade facing up
- Use a flat mill file and stroke at the original blade angle, pushing away from your body in smooth, even motions
- Work along the entire cutting edge, maintaining consistent pressure to avoid creating uneven spots
- Flip the hoe and remove any burrs with a few light passes on the back side
- Test sharpness by carefully running your thumb perpendicular to the edge; it should catch slightly without needing pressure
After sharpening, I wipe the blade with an oiled rag. Any lightweight oil works, but I use the same linseed oil I apply to my wooden handles twice yearly. This thin coating repels moisture and prevents surface rust during storage.
Store your hoe hanging vertically or resting blade-up so it doesn’t contact concrete floors where condensation accumulates. My tool rack keeps everything organized and dry, extending the life of tools that cost anywhere from fifteen to over a hundred dollars.
Where to Find Quality Gardening Hoes in 2026
Shopping for a quality hoe has gotten easier and more overwhelming at the same time. Major retailers stock over 1000+ options, which means you can find everything from basic models to specialized tools without leaving your neighborhood.
I’ve found my best hoes through three channels. Big-box stores and home centers carry reliable mid-range options, often with prices like the $13.99 models I’ve seen recently. These work well for most gardeners and include warranties. Online marketplaces give you access to the full spectrum, but you’re buying sight-unseen, so check blade thickness in photos, read reviews mentioning durability, and verify handle material rather than trusting product descriptions alone.
For serious garden maintenance I eventually invested in a handcrafted hoe. Yes, premium forged hoes can run $133 or more, but the difference in balance and edge retention becomes obvious after a season. Mass-produced hoes absolutely have their place for casual use or supplementing your main tool, but a well-made hoe outlasts five cheap ones.
When evaluating online, look for full-tang construction, hardwood handles (ash or hickory), and blade steel specifications. If the listing doesn’t mention these details, it’s probably basic stamped metal. I keep both types in my shed, the handcrafted one for precision work and everyday weeding, a budget model for rougher tasks or when I’m also managing water irrigation setup and need a beater tool nearby.
After years of working my garden beds, I’ve learned that a good gardening hoe truly does become an extension of your hand. That first morning when you pick up the right hoe and feel how naturally it moves through the soil, cutting weeds with minimal effort while your back stays comfortable, you realize this isn’t just another tool hanging in the shed. It’s the difference between garden work feeling like a chore and feeling like a satisfying rhythm you could maintain all morning.
Whether you start with a basic model or invest in a premium design that’ll outlast your seedlings by decades, the key is simply getting started. Your first hoe doesn’t need to be perfect. It just needs to get you out there, learning the feel of the blade against soil, discovering which motions work best for your body and your beds.
I’d love to hear what’s worked for you. Do you swear by a classic draw hoe, or has a stirrup hoe changed your weeding game? Have you discovered a technique that makes the work easier? Share your experiences in the comments below, because that’s how we all grow as gardeners.
And if you’re setting up your tool collection, remember that garden safety matters just as much as having the right equipment. A quality gardening hoe, properly maintained and used with good technique, will serve you faithfully for seasons to come.